Introduction
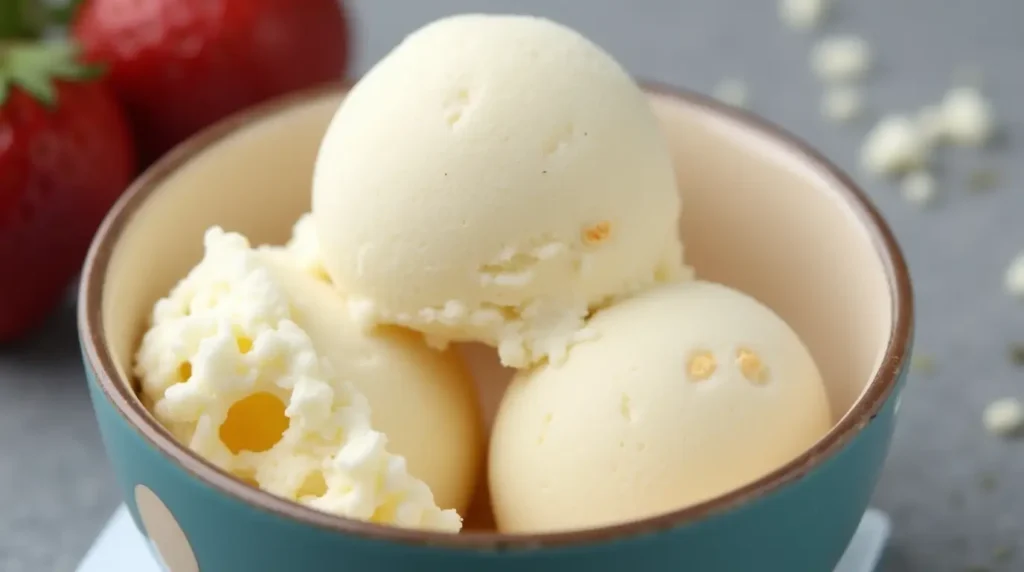
Winter brings with it a magical opportunity to create delightful treats using nature’s bounty—snow! Homemade snow ice cream is not only a fun activity for the whole family but also a delicious way to enjoy the season. In addition, it’s incredibly easy to make with just a few simple ingredients. Above all, this treat is customizable, allowing you to experiment with flavors and toppings. Whether you’re looking for a quick dessert or a creative way to spend a snowy day, homemade snow ice cream is the perfect choice.
Moreover, this article will guide you through the process step-by-step, provide creative variations, answer frequently asked questions, and offer tips to make your snow ice cream unforgettable. Let’s dive in!
Why Snow-Based Ice Cream is a Winter Favorite
Snow-based ice cream has been a beloved winter tradition for generations. Not only is it a fun activity for families, but it also brings a sense of nostalgia and joy. In addition, it’s a great way to make use of the snow that blankets your yard during the colder months. Above all, it’s a treat that can be enjoyed by people of all ages, making it a perfect addition to any winter gathering.
Moreover, making ice cream from snow is an excellent opportunity to teach kids about science and cooking. For instance, you can explain how snow transforms into a creamy dessert when mixed with the right ingredients. Similarly, it’s a chance to get creative and experiment with different flavors and toppings.
In addition to being a fun activity, snow-based ice cream is also a sustainable way to enjoy a treat. Instead of relying on store-bought ingredients, you’re using what nature provides. This not only reduces waste but also connects you to the season in a meaningful way.
Furthermore, snow-based ice cream is incredibly versatile. Whether you prefer classic vanilla, rich chocolate, or fruity flavors, you can customize it to suit your taste. For example, adding a splash of peppermint extract can turn it into a festive holiday treat, while a drizzle of caramel sauce can make it feel indulgent.
Finally, snow-based ice cream is a great way to bring people together. Whether you’re hosting a winter party or spending a cozy day at home, making and enjoying this treat can create lasting memories. In short, it’s more than just a dessert—it’s an experience.
Step-by-Step Instructions for Making Homemade Snow Ice Cream
Making homemade snow ice cream is incredibly easy. Here’s a step-by-step guide to help you create this winter delight:
1: Gather Fresh Snow
First, collect clean, fresh snow. Ensure the snow is free from dirt, debris, or pollutants. For example, avoid using snow that has been on the ground for too long or near roads.
2: Prepare the Base
Next, mix 1 cup of milk, 1/2 cup of sugar, and 1 teaspoon of vanilla extract in a large bowl. Stir until the sugar dissolves completely.
3: Combine Snow and Base
After that, gradually add 8 cups of snow to the milk mixture. Stir gently until the mixture reaches a creamy, ice cream-like consistency.
4: Serve and Enjoy
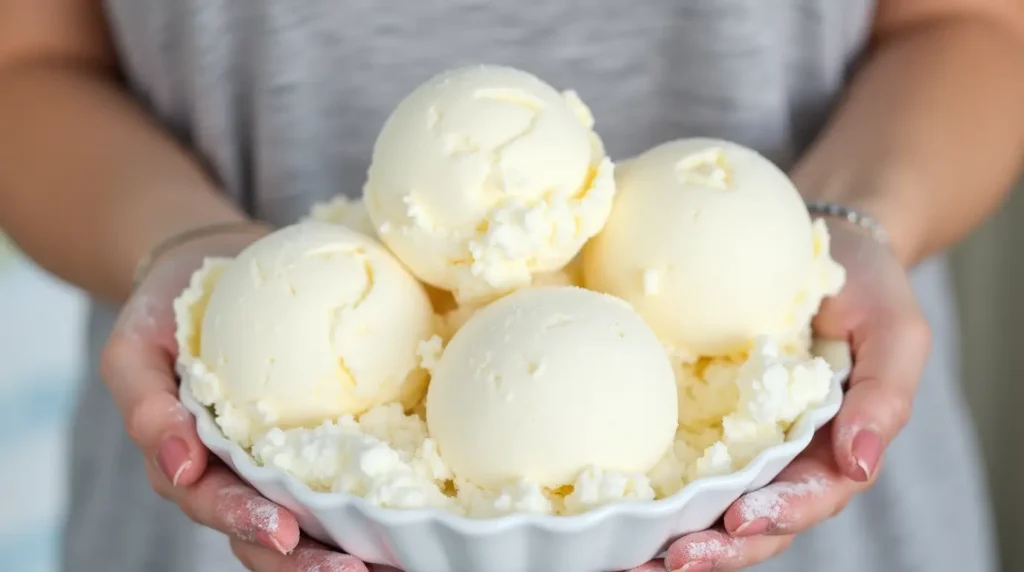
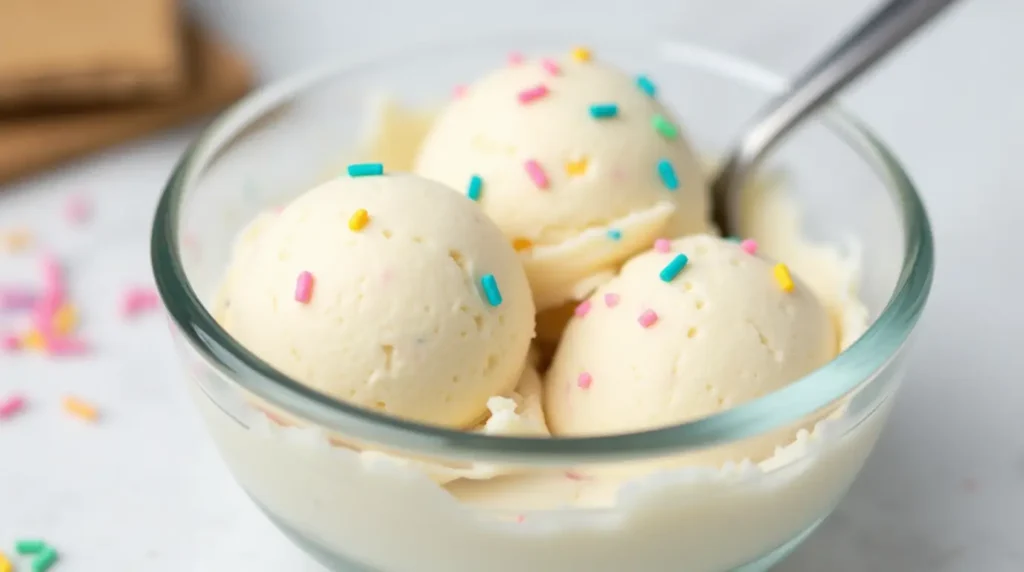
Finally, scoop the snow ice cream into bowls and add your favorite toppings. For instance, try sprinkles, chocolate syrup, or fresh fruit.
| Ingredient | Quantity | Notes |
|---|---|---|
| Fresh snow | 8-10 cups | Use freshly fallen, clean snow |
| Granulated sugar | 1/2 cup | Adjust to taste |
| Milk or cream | 1 cup | Dairy alternatives like almond, coconut, or oat milk work too |
| Vanilla extract | 1-2 teaspoons | For a classic flavor |
| Salt (optional) | A pinch | Enhances overall flavor |
| Toppings (optional) | As desired | Sprinkles, chocolate chips, or syrups |
7 Creative Variations of Homemade Snow Ice Cream
One of the best things about homemade snow ice cream is its versatility. Here are seven creative variations to try:
1. Chocolate Snow Ice Cream
Add 2 tablespoons of cocoa powder to the base mixture for a rich, chocolatey flavor.
2. Strawberry Snow Ice Cream
Mix in 1/4 cup of strawberry syrup or mashed fresh strawberries for a fruity twist.
3. Peppermint Snow Ice Cream
Incorporate 1/2 teaspoon of peppermint extract and crushed candy canes for a festive treat.
4. Pistachio Snow Ice Cream
For a nutty flavor, add 2 tablespoons of pistachio cream. If you’re wondering where to buy pistachio cream, check out our guide here.
5. Caramel Swirl Snow Ice Cream
Drizzle caramel sauce into the mixture and gently swirl for a sweet, gooey delight.
6. Coconut Snow Ice Cream
Use coconut milk instead of regular milk and top with shredded coconut for a tropical twist.
7. Cookies and Cream Snow Ice Cream
Crush your favorite cookies and mix them into the snow ice cream for a crunchy, creamy combination.
Tips for Perfect Homemade Snow Ice Cream
To ensure your snow ice cream turns out perfectly every time, follow these tips:
- Use Fresh Snow: Always collect snow as soon as it falls to ensure it’s clean and fluffy.
- Adjust Consistency: If the mixture is too runny, add more snow. If it’s too thick, add a splash of milk.
- Experiment with Flavors: Don’t be afraid to try new flavors and toppings. For example, you can even use cake flavors like vanilla or chocolate for a unique twist.
Why Snow-Based Ice Cream is a Winter Favorite
Snow-based ice cream has been a beloved winter tradition for generations. Not only is it a fun activity for families, but it also brings a sense of nostalgia and joy. In addition, it’s a great way to make use of the snow that blankets your yard during the colder months. Above all, it’s a treat that can be enjoyed by people of all ages, making it a perfect addition to any winter gathering.
Moreover, making ice cream from snow is an excellent opportunity to teach kids about science and cooking. For instance, you can explain how snow transforms into a creamy dessert when mixed with the right ingredients. Similarly, it’s a chance to get creative and experiment with different flavors and toppings.
The Science Behind Ice Cream Made with Snow
Have you ever wondered why snow turns into ice cream when mixed with milk and sugar? The process is simple yet fascinating. Snow is essentially frozen water crystals, and when combined with milk, sugar, and flavorings, it creates a creamy mixture similar to traditional ice cream.
In contrast to store-bought ice cream, which is churned to incorporate air and prevent ice crystals, snow-based ice cream relies on the natural texture of snow. As a result, it has a lighter, fluffier consistency. For example, the snow acts as a base that absorbs the flavors of the milk and sugar, creating a delicious treat in minutes.
Fun Ways to Serve Ice Cream Made from Snow
Presentation is key when it comes to making your snow-based ice cream even more special. Here are some fun serving ideas:
Ice Cream Sundae Bar
Set up a DIY sundae bar with various toppings, sauces, and mix-ins. For instance, include chocolate chips, caramel sauce, and fresh fruit.
Dessert Cups
Serve your ice cream in elegant dessert cups for a fancy touch. Check out our guide on dessert cups for inspiration.
Waffle Cones
For a classic ice cream experience, serve your snow-based ice cream in crispy waffle cones.
How to Store Ice Cream Made with Snow
While ice cream made from snow is best enjoyed fresh, you can store it for a short period if needed. Here’s how:
- Freezer Storage: Transfer the ice cream to an airtight container and place it in the freezer. However, keep in mind that the texture may change slightly as the snow melts and refreezes.
- Serving Later: If you plan to serve it later, let it sit at room temperature for a few minutes to soften before scooping.
In contrast to traditional ice cream, which can be stored for weeks, snow-based ice cream is best consumed within a few hours. As a result, it’s ideal for immediate enjoyment.
How to Store Snow-Crafted Desserts
While snow-crafted desserts are best enjoyed fresh, you can store them for a short period if needed. Here’s how:
- Freezer Storage: Transfer the dessert to an airtight container and place it in the freezer. However, keep in mind that the texture may change slightly as the snow melts and refreezes.
- Serving Later: If you plan to serve it later, let it sit at room temperature for a few minutes to soften before scooping.
In contrast to traditional ice cream, which can be stored for weeks, snow-crafted desserts are best consumed within a few hours. As a result, they’re ideal for immediate enjoyment.
Additionally, if you want to extend their shelf life, consider adding stabilizers like cornstarch or gelatin to the mixture. These ingredients can help maintain the creamy texture for a longer period.
FAQs About Homemade Snow Ice Cream
1. Is it safe to eat snow?
Yes, as long as the snow is clean and freshly fallen. Avoid using snow that has been on the ground for too long.
2. Can I make snow ice cream without milk?
Absolutely! You can use alternatives like almond milk, coconut milk, or even heavy cream.
3. How long does homemade snow ice cream last?
It’s best enjoyed immediately, but you can store it in the freezer for up to 2 hours.
4. Can I add mix-ins?
Yes, feel free to add sprinkles, chocolate chips, or even crushed cookies.
Conclusion
Homemade snow ice cream is a delightful winter treat that’s easy to make and fun to customize. In addition, it’s a great way to enjoy the season and create lasting memories with loved ones. Above all, it’s a simple recipe that requires minimal ingredients and effort.
For more dessert inspiration, check out our guides on dessert cups and cake flavors. Similarly, if you’re a single mom looking to make your birthday special, don’t miss our tips here.
Finally, for more recipes and ideas, visit these trusted sources: Tasty, Allrecipes, and Delish.

