Introduction
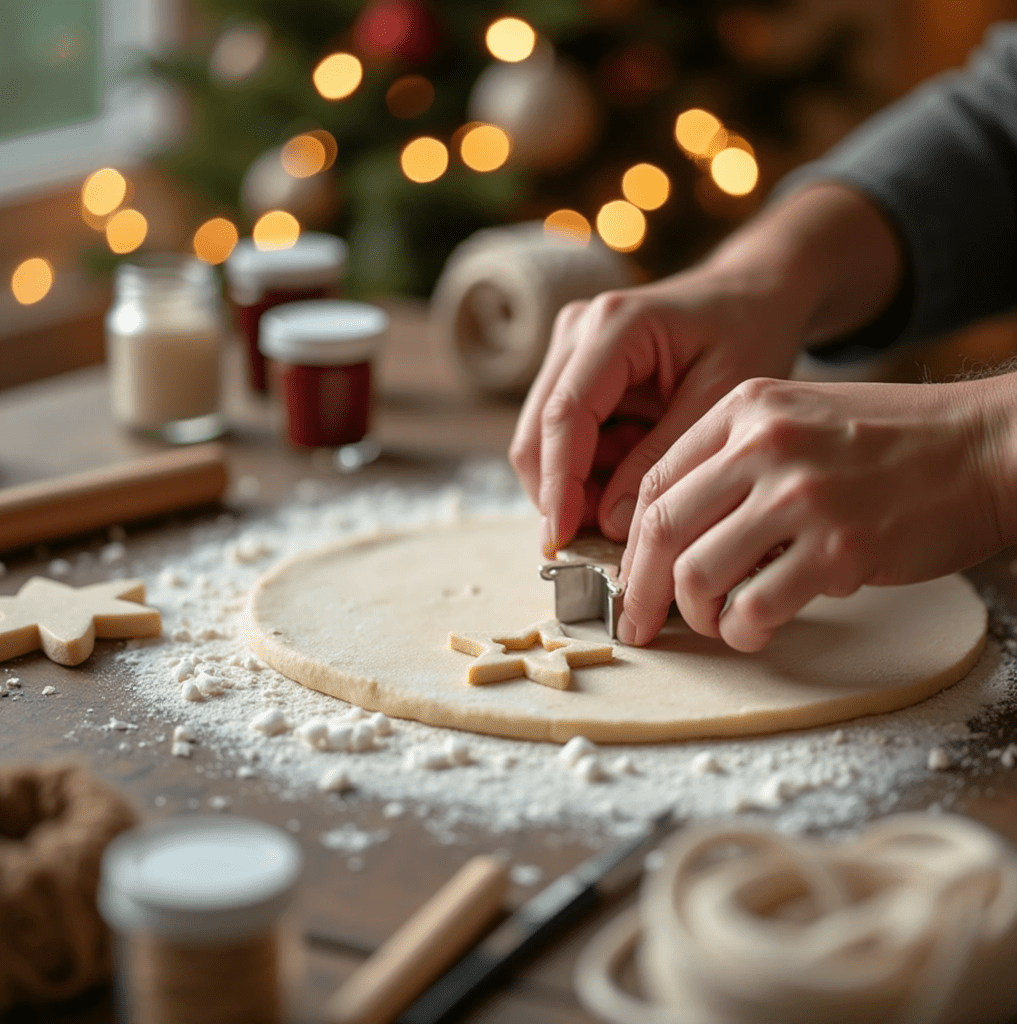
Decorating for Christmas is one of the most cherished traditions of the holiday season, and DIY ornaments make it even more special. Moreover, making Christmas ornaments with cookie cutters is a creative, budget-friendly activity that allows you to customize your tree while spending quality time with loved ones. For instance, you can craft ornaments that reflect your personal style or give them as heartfelt gifts. As a result, learning how to make Christmas ornaments with cookie cutters becomes a meaningful part of your holiday preparation. Let’s dive into the joy of DIY holiday crafting!
Materials You’ll Need to Make Christmas Ornaments with Cookie Cutters
Before starting, gather these essential supplies to ensure a seamless crafting experience. Having the right materials on hand will not only make the process smoother but also allow you to get creative with your designs:
- Cookie cutters: Choose holiday-themed shapes like stars, trees, snowflakes, or even gingerbread men to add variety and festive charm to your ornaments.
- Salt dough or air-dry clay: These materials serve as the perfect base for crafting sturdy and customizable ornaments.
- Rolling pin: A rolling pin ensures an even thickness for your ornaments, making them look professional and balanced.
- Parchment paper or silicone mat: Protect your workspace and prevent sticking by rolling out your dough or clay on parchment paper or a silicone mat.
- Straws or skewers: Use these to create clean, uniform holes in your ornaments for hanging. They’re also helpful for adding small decorative imprints.
- Paints and brushes: Acrylic paints work best for adding vibrant colors to your ornaments. Fine-tip brushes are ideal for intricate details.
- Glitter, beads, or ribbons: Elevate your designs by incorporating sparkling glitter, decorative beads, or festive ribbons for a polished finish.
- Baking sheet: If you’re using salt dough, a baking sheet lined with parchment paper is essential for drying and hardening your ornaments evenly.
- Sealing spray or Mod Podge: These sealants will preserve your ornaments, protecting them from moisture and wear, ensuring they last for years to come.
- Twine, string, or hooks: Choose sturdy twine or decorative string for hanging your ornaments on the tree or as part of a festive garland.
Additionally, you may want to keep a damp cloth nearby to clean your hands or tools while crafting. This ensures a smooth workflow and prevents any unwanted mess. For those looking to experiment further, consider having cookie stamps, metallic paints, or even small gems on hand to add extra flair to your creations. With all these materials ready, you’re set to create ornaments that are not only beautiful but also truly one-of-a-kind.
Step-by-Step Guide on How to Make Christmas Ornaments with Cookie Cutters
1. Prepare Your Work Area
First, set up a clean and flat surface to roll out your dough or clay. In addition, use parchment paper or a silicone mat to prevent sticking. Above all, make sure all your materials are within easy reach to avoid interruptions.
2. Make or Purchase the Base Material for Your Ornaments
Option 1: Salt Dough Recipe for Christmas Ornaments
Salt dough is affordable and easy to make. For example, here’s a quick recipe:
- Ingredients:
- 2 cups of all-purpose flour
- 1 cup of salt
- 1 cup of warm water
- Instructions:
- Mix the flour and salt in a large bowl.
- Gradually add warm water while stirring.
- Knead the mixture until it forms a smooth dough.
Option 2: Air-Dry Clay for Cookie Cutter Ornaments
On the other hand, air-dry clay is a fantastic alternative if you’d prefer not to bake your ornaments. Moreover, it’s easy to find at craft stores and comes ready to use. As a result, this option saves time and effort.
3. Roll Out the Dough or Clay for Cookie Cutter Ornaments
Next, roll your salt dough or air-dry clay to an even thickness, approximately 1/4 inch. In short, this ensures durability while keeping the ornaments lightweight.
4. Cut Out Shapes Using Cookie Cutters
For example, press your cookie cutters firmly into the dough or clay to create shapes. Carefully lift the cutter and remove any excess material around the edges. In addition, you can use smaller cookie cutters for intricate designs.
5. Create Holes for Hanging Your Ornaments
Use a straw or skewer to poke a small hole near the top of each ornament. As a result, this hole will be used for threading ribbon or string.
6. Bake or Dry Your Cookie Cutter Ornaments
- Salt Dough:
- Preheat your oven to 200°F (93°C).
- Place your ornaments on a baking sheet lined with parchment paper.
- Bake for 2-3 hours, flipping halfway through. Consequently, this ensures even drying.
- Air-Dry Clay:
- Allow the ornaments to dry naturally for 24-48 hours. In addition, flip them occasionally for even drying.
7. Decorate Your Christmas Ornaments
Once your ornaments are completely dry or baked, it’s time to decorate! For instance, use acrylic paints, glitter, or markers to bring your designs to life. Additionally, sprinkle glitter onto wet paint or glue for added sparkle.
8. Seal Your Cookie Cutter Ornaments
Above all, seal your ornaments with Mod Podge or a clear spray sealant to protect them from moisture and wear. As a result, your creations will last longer.
9. Add Ribbons and Hang Your Ornaments
Finally, thread ribbons, twine, or hooks through the holes you created and hang your ornaments on the tree, garlands, or anywhere that needs a festive touch. Because of this, your home will feel even more festive and personalized.

Creative Variations for Christmas Ornaments with Cookie Cutters
Using Different Materials for Cookie Cutter Ornaments
Adding variety to your materials can elevate your ornament-making experience:
- Cinnamon Dough: Add a festive scent by making ornaments with cinnamon dough, a simple mixture of applesauce and cinnamon. This not only creates beautifully scented decorations but also enhances the holiday atmosphere. Similarly, experiment with other scented doughs, such as gingerbread-inspired mixes, for a unique twist.
- Polymer Clay: For a more polished and professional look, use colorful polymer clay. This material is easy to shape and allows for intricate designs and vibrant colors. Moreover, polymer clay ornaments are durable and long-lasting, making them perfect for keepsakes. Follow the baking instructions on the package for the best results.
- Felt or Fabric: If you prefer soft ornaments, consider using felt or fabric cut into cookie cutter shapes. These materials can be stitched or glued together and embellished with beads, buttons, or embroidery.
Adding Embellishments to Your Ornaments
Embellishments can make your ornaments truly unique and eye-catching:
- Beads and Sequins: Press beads or sequins into the dough before it dries to add a glamorous touch. For instance, use sequins to mimic snowflakes or create sparkling accents.
- Handprints and Stamps: Personalize your ornaments with handprints, stamps, or imprints of evergreen branches. This technique is particularly meaningful for ornaments that will be cherished as keepsakes for years to come.
- Gold or Silver Leaf: Apply metallic leafing to create a luxurious finish. In addition, you can use metallic accents to highlight certain features of your designs, like edges or engraved patterns.
- Ribbons and Bells: Attach small bells or decorative ribbons to your finished ornaments for an added festive touch. These details enhance the overall aesthetic and bring a cheerful sound to your decorations.
Painting Techniques for Cookie Cutter Ornaments
Painting your ornaments allows you to unleash your creativity. Consider these techniques:
- Ombre Effect: Blend two or more colors for a gradient effect. For example, transition from dark blue to light blue to mimic a wintery sky. As a result, these ornaments will stand out beautifully on your tree.
- Stencil Designs: Use stencils to add intricate patterns, such as snowflakes, stars, or festive messages. Additionally, stencils are perfect for achieving precise, professional-looking designs, even for beginners.
- Rustic Look: Opt for brown or earthy tones for a farmhouse-style ornament. This style works well with natural materials like twine or burlap. In contrast, using bright, bold colors can create a modern and playful feel.
- Glitter Accents: Apply glue in specific areas and sprinkle glitter to create sparkling accents. For instance, add glitter to the edges or as highlights in your painted designs.
Unique Display Ideas
Once your ornaments are complete, think outside the box for displaying them:
Gift Tags: Use smaller ornaments as decorative gift tags. Simply write a name or message on the ornament and attach it to a wrapped present.
Themed Trees: Create a themed Christmas tree using ornaments made from cookie cutters in specific shapes, such as stars or candy canes.
Garlands: String several ornaments together with twine or ribbon to create a festive garland for your mantel or windows.
Frequently Asked Questions about Making Christmas Ornaments with Cookie Cutters
How Long Do Salt Dough Ornaments Last?
Salt dough ornaments can last for years if properly sealed and stored. In addition, avoid moisture and extreme temperature changes to prevent cracking or mold. For more tips on cookie cutters and ornaments, check out our guide on A Christmas Story Cookie Cutters.
Can You Use Cookie Cutters with Air-Dry Clay?
Yes, cookie cutters work perfectly with air-dry clay. For example, they create clean, precise shapes, making them an excellent choice for this material. If you’re looking to purchase cookie cutters, explore Where Can I Buy Christmas Cookie Cutters for some great options.
How to Display Christmas Cookie Cutters?
If you want to showcase your cookie cutters, hang them on a garland, arrange them in shadow boxes, or use them as decorative accents on your tree. Moreover, this adds a nostalgic and festive touch to your décor. Learn more display ideas from our detailed post on Where Can You Buy Christmas Cookie Cutters.
Do You Have to Seal Salt Dough Ornaments?
Sealing salt dough ornaments is highly recommended to protect them from humidity and extend their lifespan. Therefore, use a clear varnish, Mod Podge, or spray sealant for best results. For additional instructions and creative inspiration, refer to our guide on How to Make Christmas Ornaments with Cookie Cutters.
For more shopping tips and resources, don’t forget to visit our post on Where to Buy Christmas Cookie Cutters.
Conclusion
Crafting Christmas ornaments with cookie cutters is a rewarding and enjoyable activity that enhances the holiday spirit. Above all, it’s a way to create lasting memories with loved ones. In conclusion, gather your materials, unleash your creativity, and make this Christmas extra special with handmade decorations that will be cherished for years to come.
For more holiday inspiration, visit Better Homes & Gardens Christmas Crafts, Martha Stewart’s DIY Ornaments, and Etsy’s Christmas Ornament Ideas. These resources provide additional ideas and tips to make your holiday season even more magical.
Chocolate Guinness Cake with Baileys Buttercream
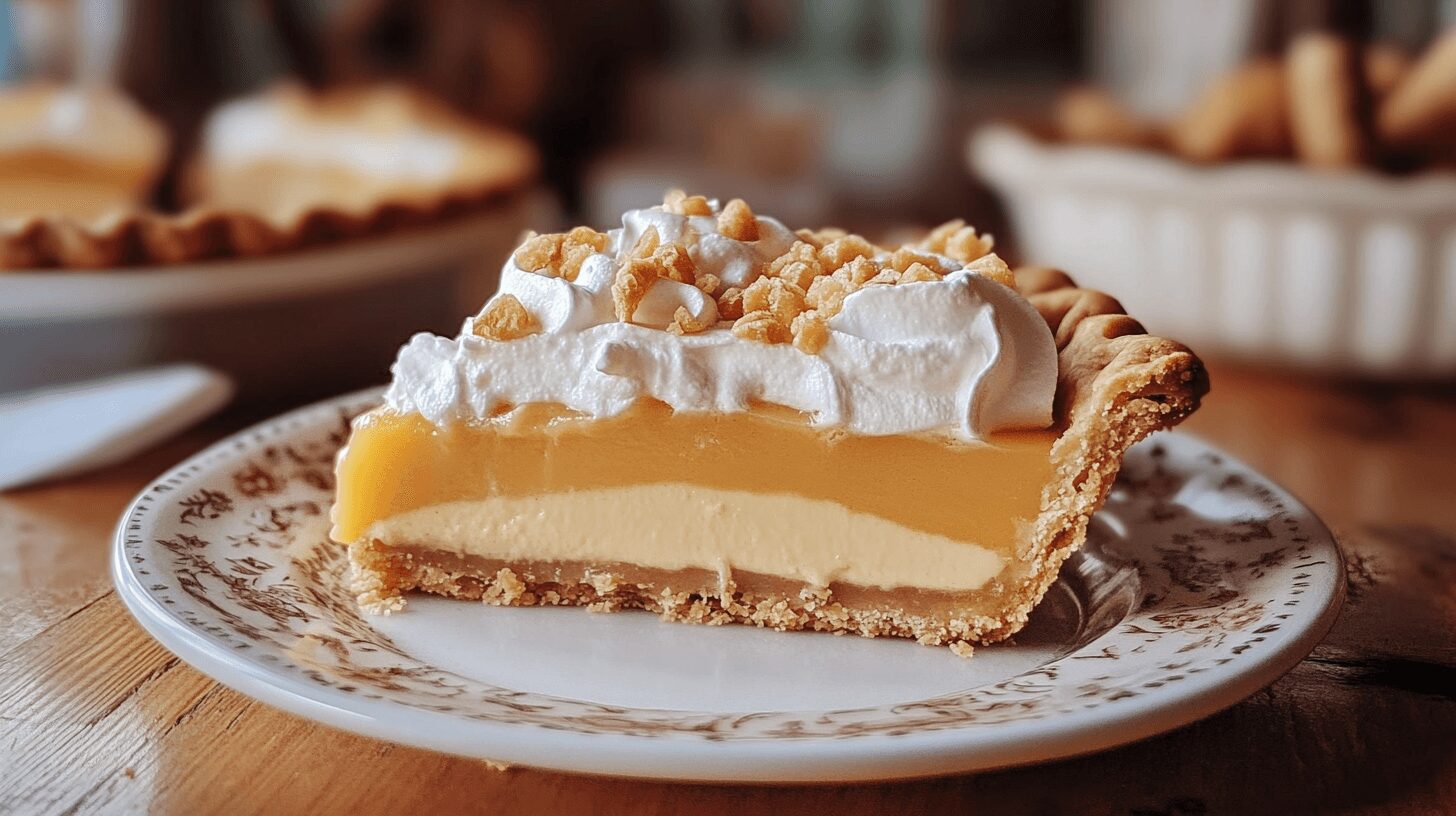
Ultimate Dolly Parton Butterscotch Pie: 5 Sweet Reasons to Try This Classic Dessert
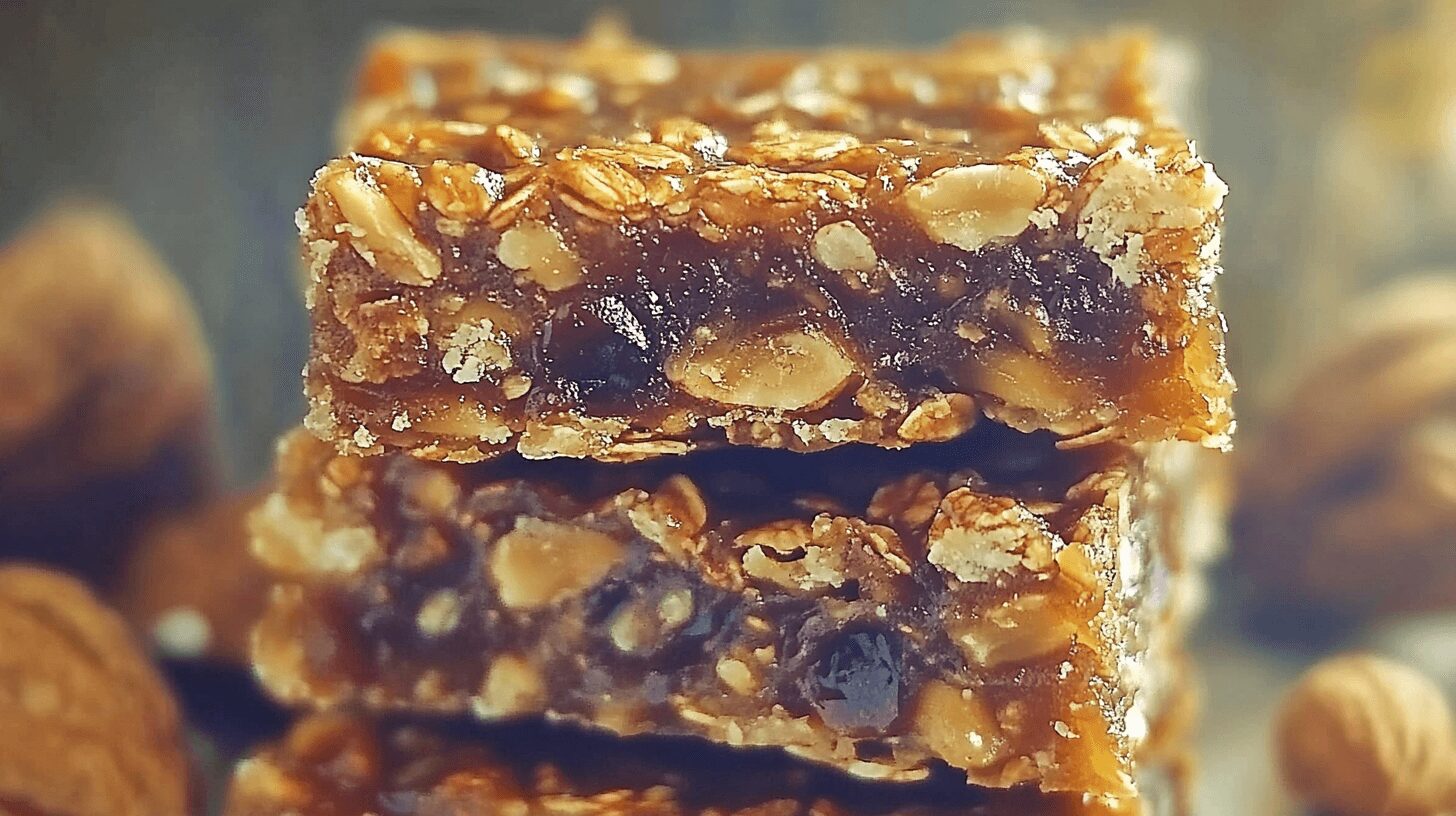
Chewy & Nutritious Date and Walnut Snack Bars: 7 Easy Steps to Make Healthy Granola Bars at Home

5-Minute Sausage Egg and Cheese Breakfast Roll-Ups: The Perfect Morning Delight

One Pan Bold Honey BBQ Chicken Rice – 5 Steps to a Flavorful Meal
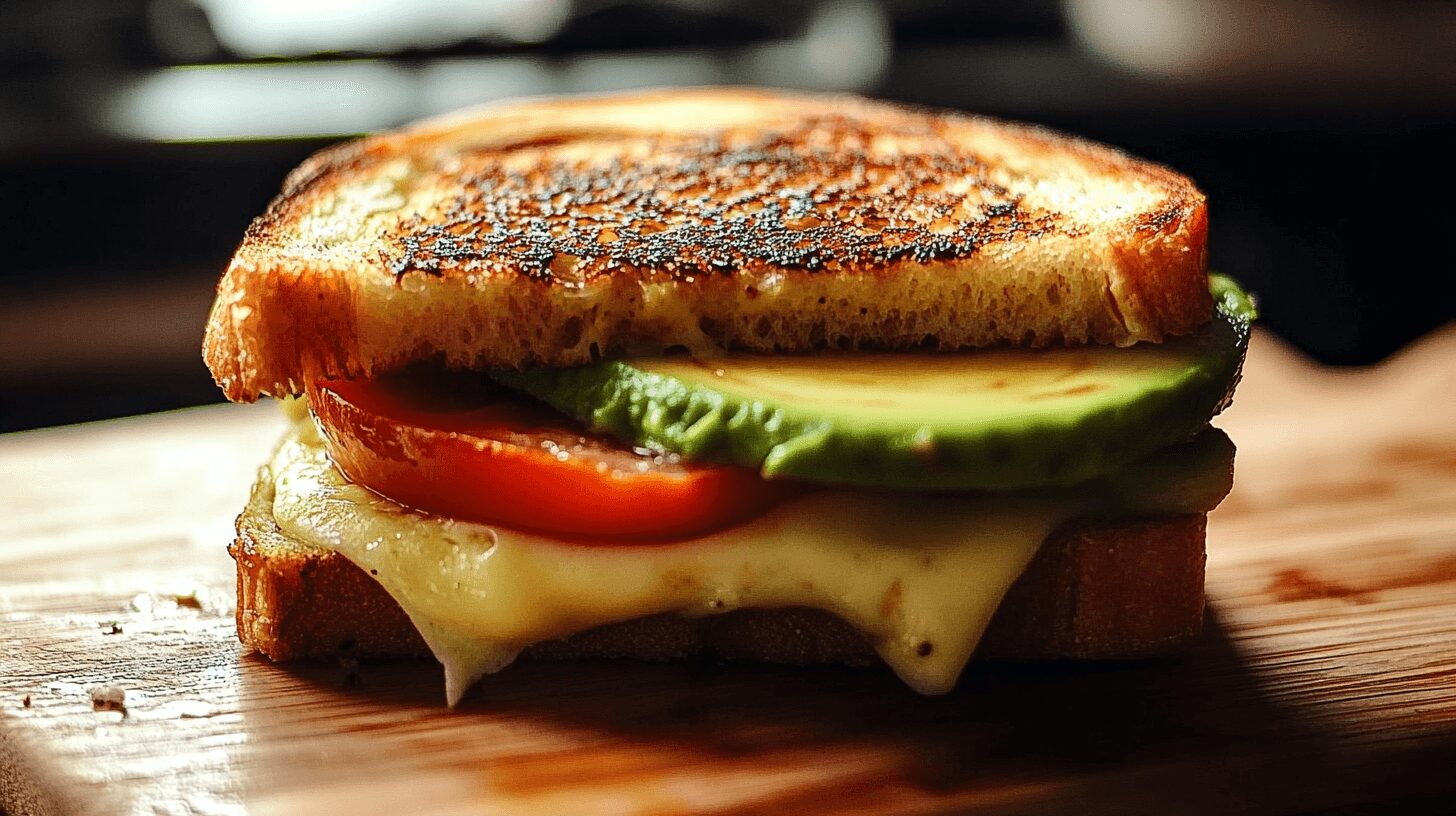
Healthy Avocado Grilled Cheese: 5 Reasons to Try This Nutritious Twist on a Classic

7 Reasons to Love Smothered Potatoes: A Delicious and Nutritious Comfort Food
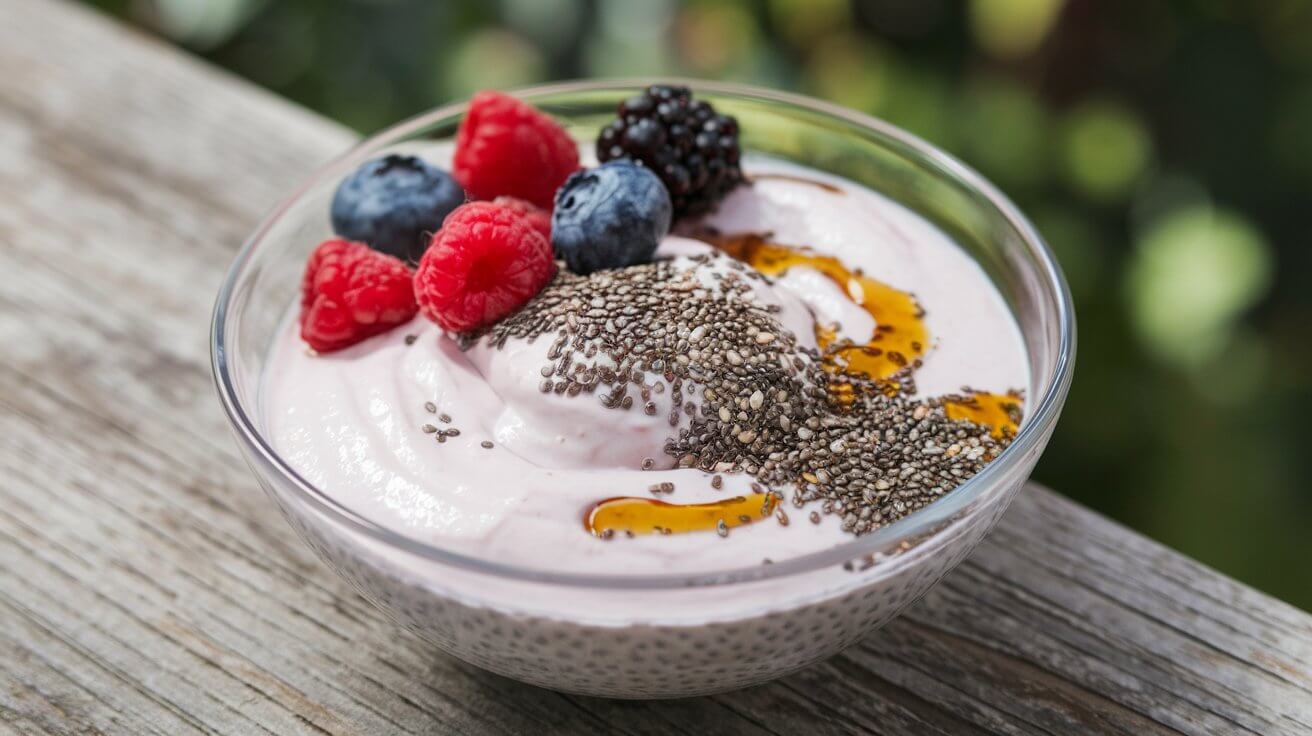
Greek Yogurt Chia Pudding: 5 Reasons This Simple, Healthy Treat is a Game-Changer